PrivMX Fusion is based on 2-dimensional architecture – with all Tools available in your top bar horizontal menu. To add a new task, go to “Tasks” and then select the appropriate Section on the left vertical menu. It’s also possible to create private tasks just for yourself to see and edit – to do that, just go to “My private Tasks” on the top left.
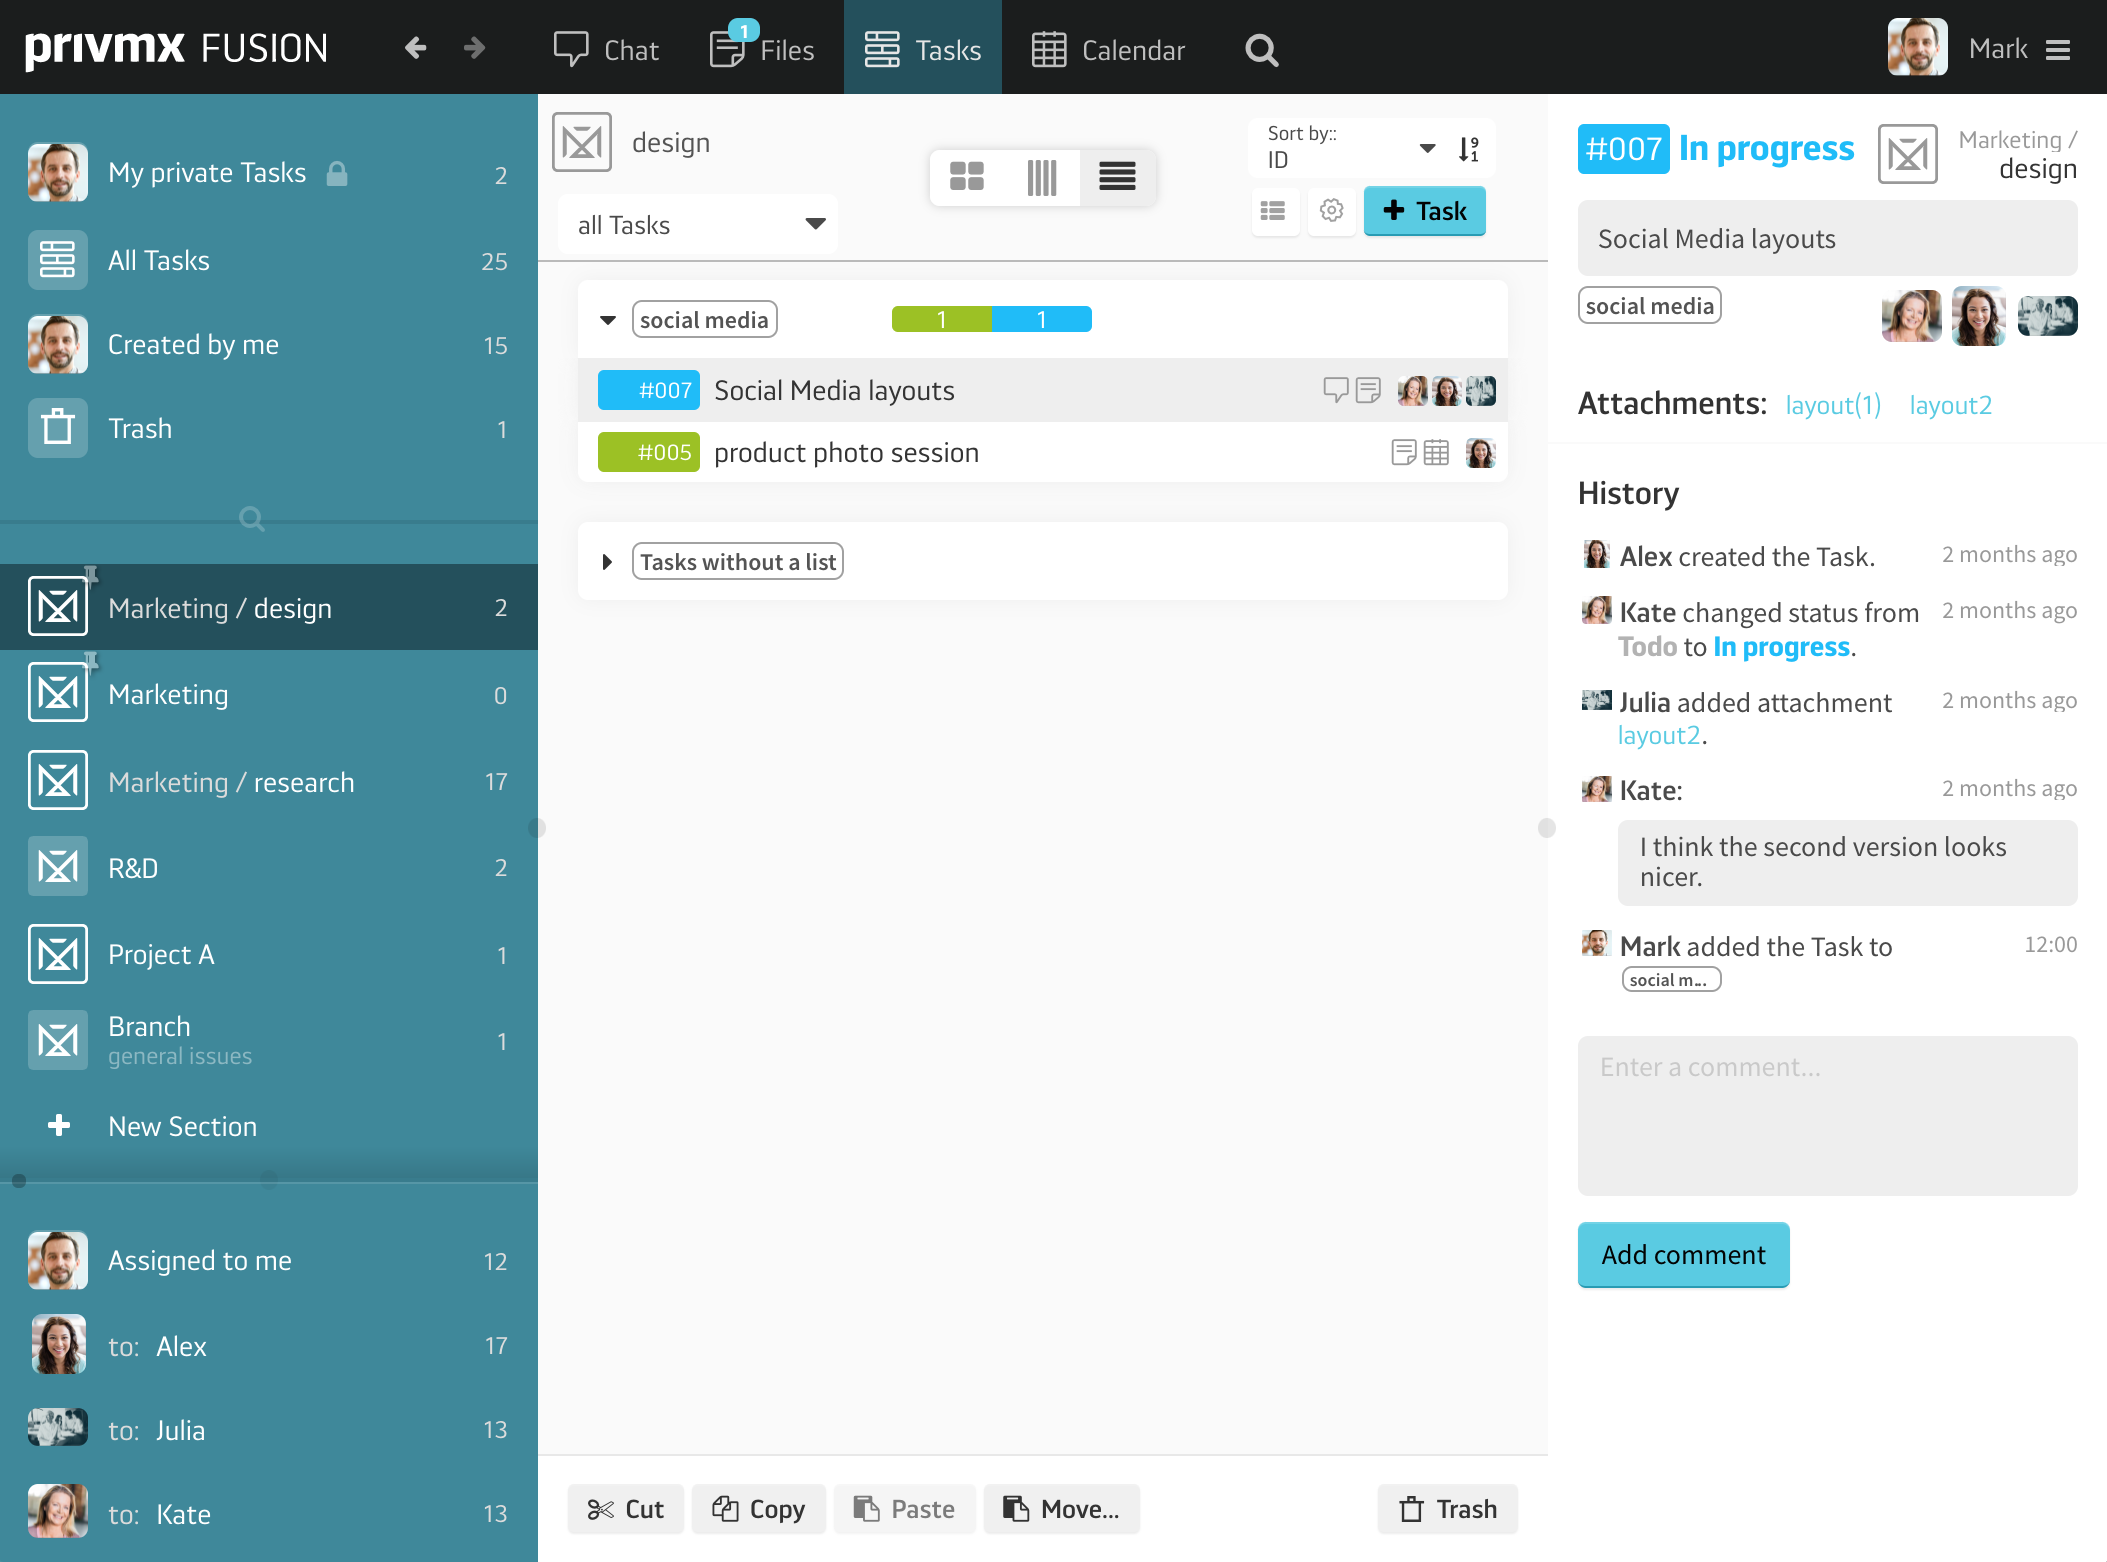
After selecting the right Section, create a task by clicking the “+Task” button in the top right corner of the Tasks window. You’ll immediately see a Task window pop up. You’ll see all available Sections and you’ll be able to choose a different Section from a list. Choosing Sections, you also decide which Team Members will be able to access the task, as every Section is available to a group selected by the Team Keeper.

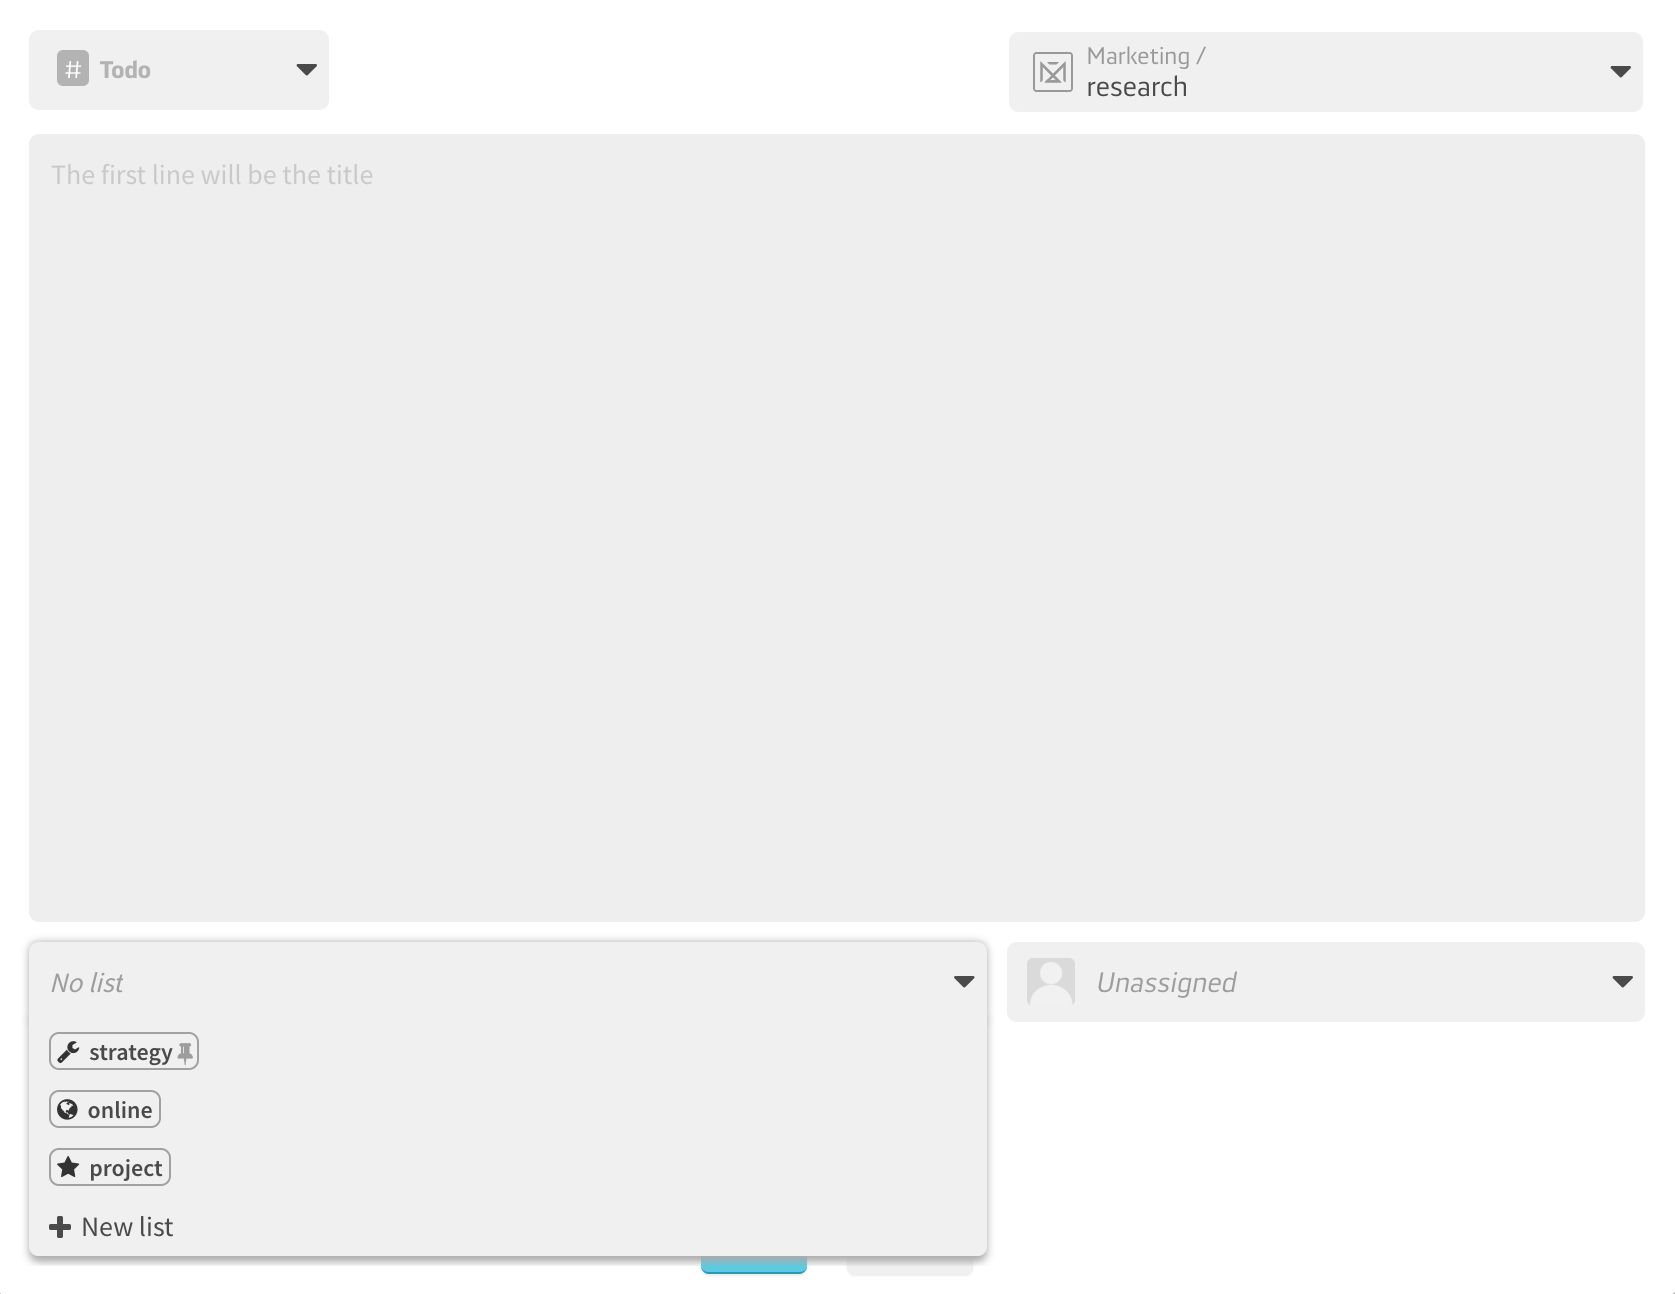
Next, choose the status of the Tasks. By default, all new tasks are in the “To do” category, but you can easily change it every step of the way. In the central part of the window, there is the field for your Task description. The first line is your Task’s name, displaying later in bold type, so keep it clear and relevant. Each task can belong to one or many to-do lists. If you already have some lists, you can assign the task by selecting one in the drop-down menu. If you’d like to create a brand new list, just click “add new list” and type in the name. You can then select it and assign your task.
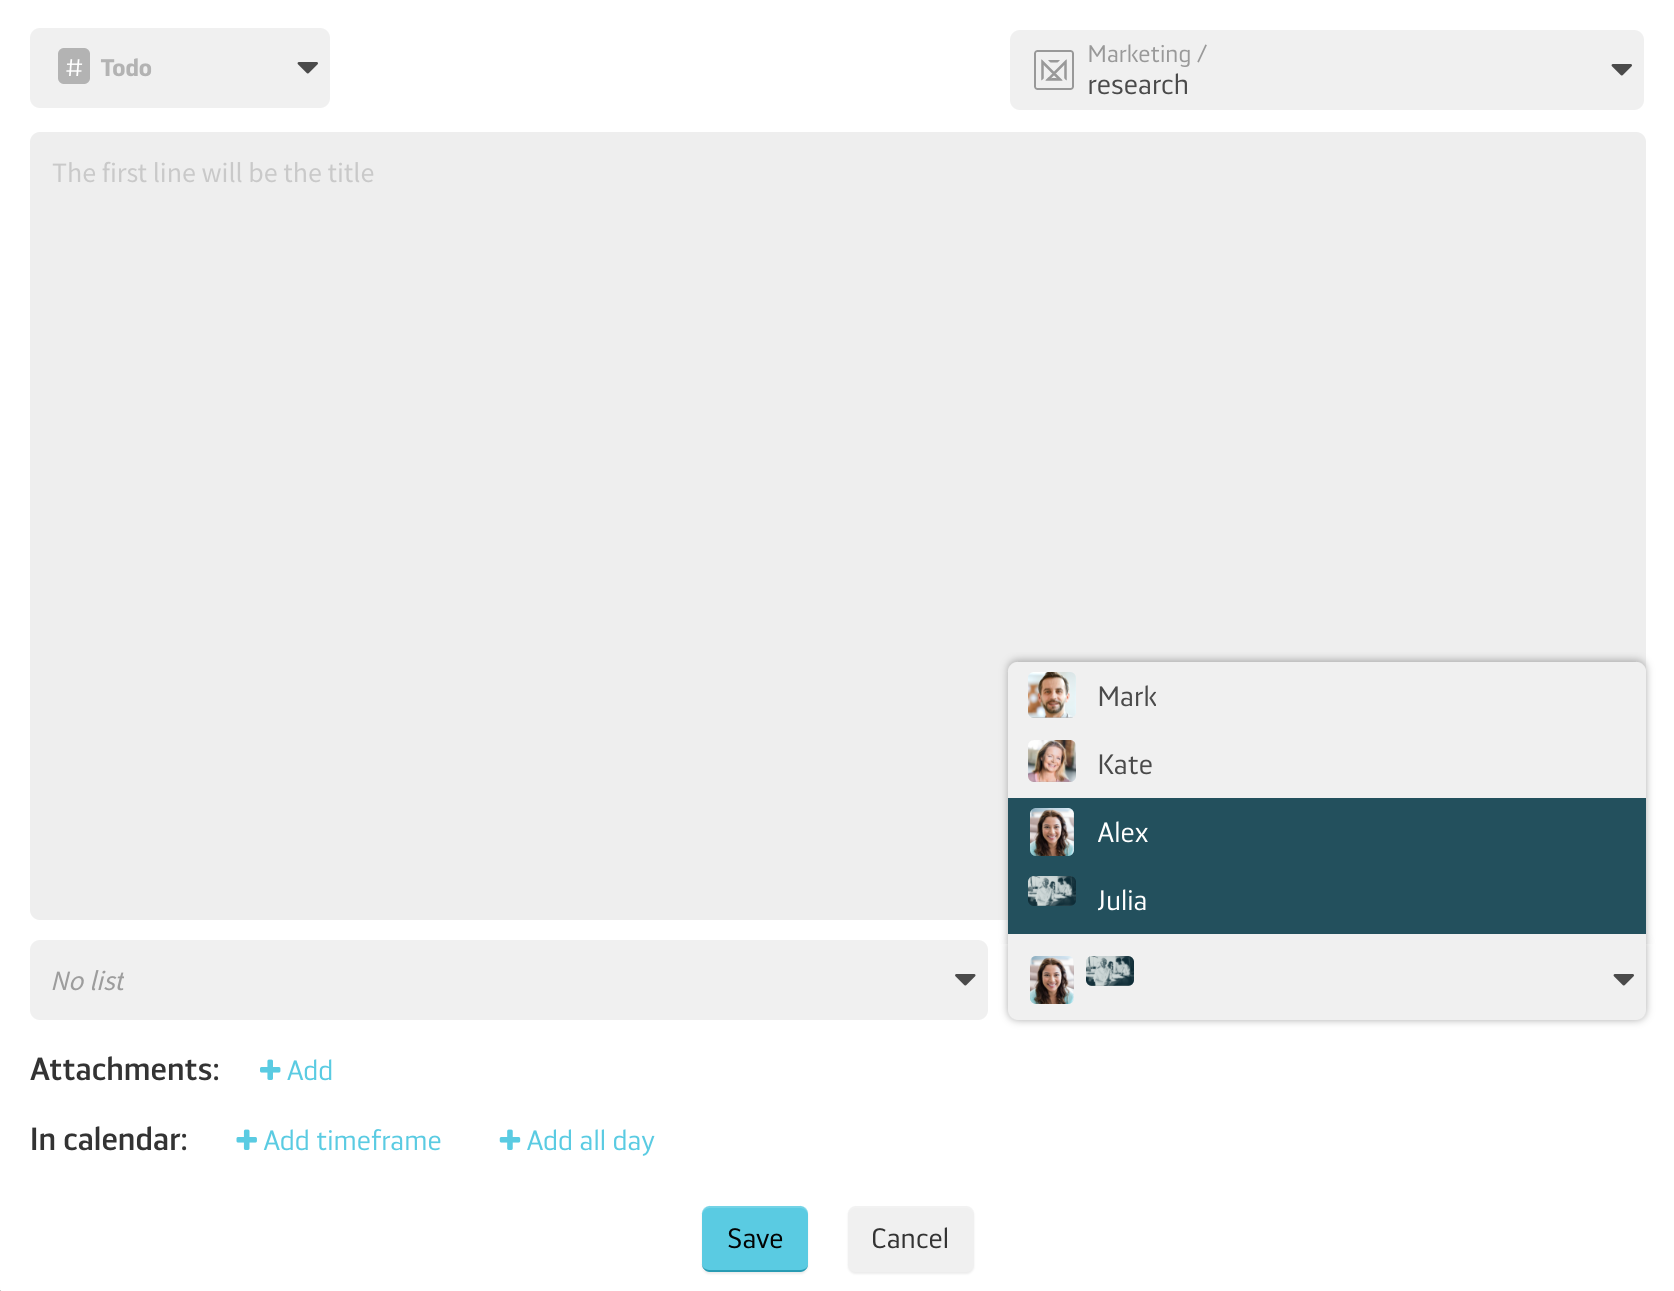
Next step is selecting the people assigned to this task. Of course, for better transparency in your teamwork, the task will be visible and accessible to all Team Members who have access to the particular Section, but this time you’re deciding who’s the assignee responsible for the task. You do that in the drop-down below.
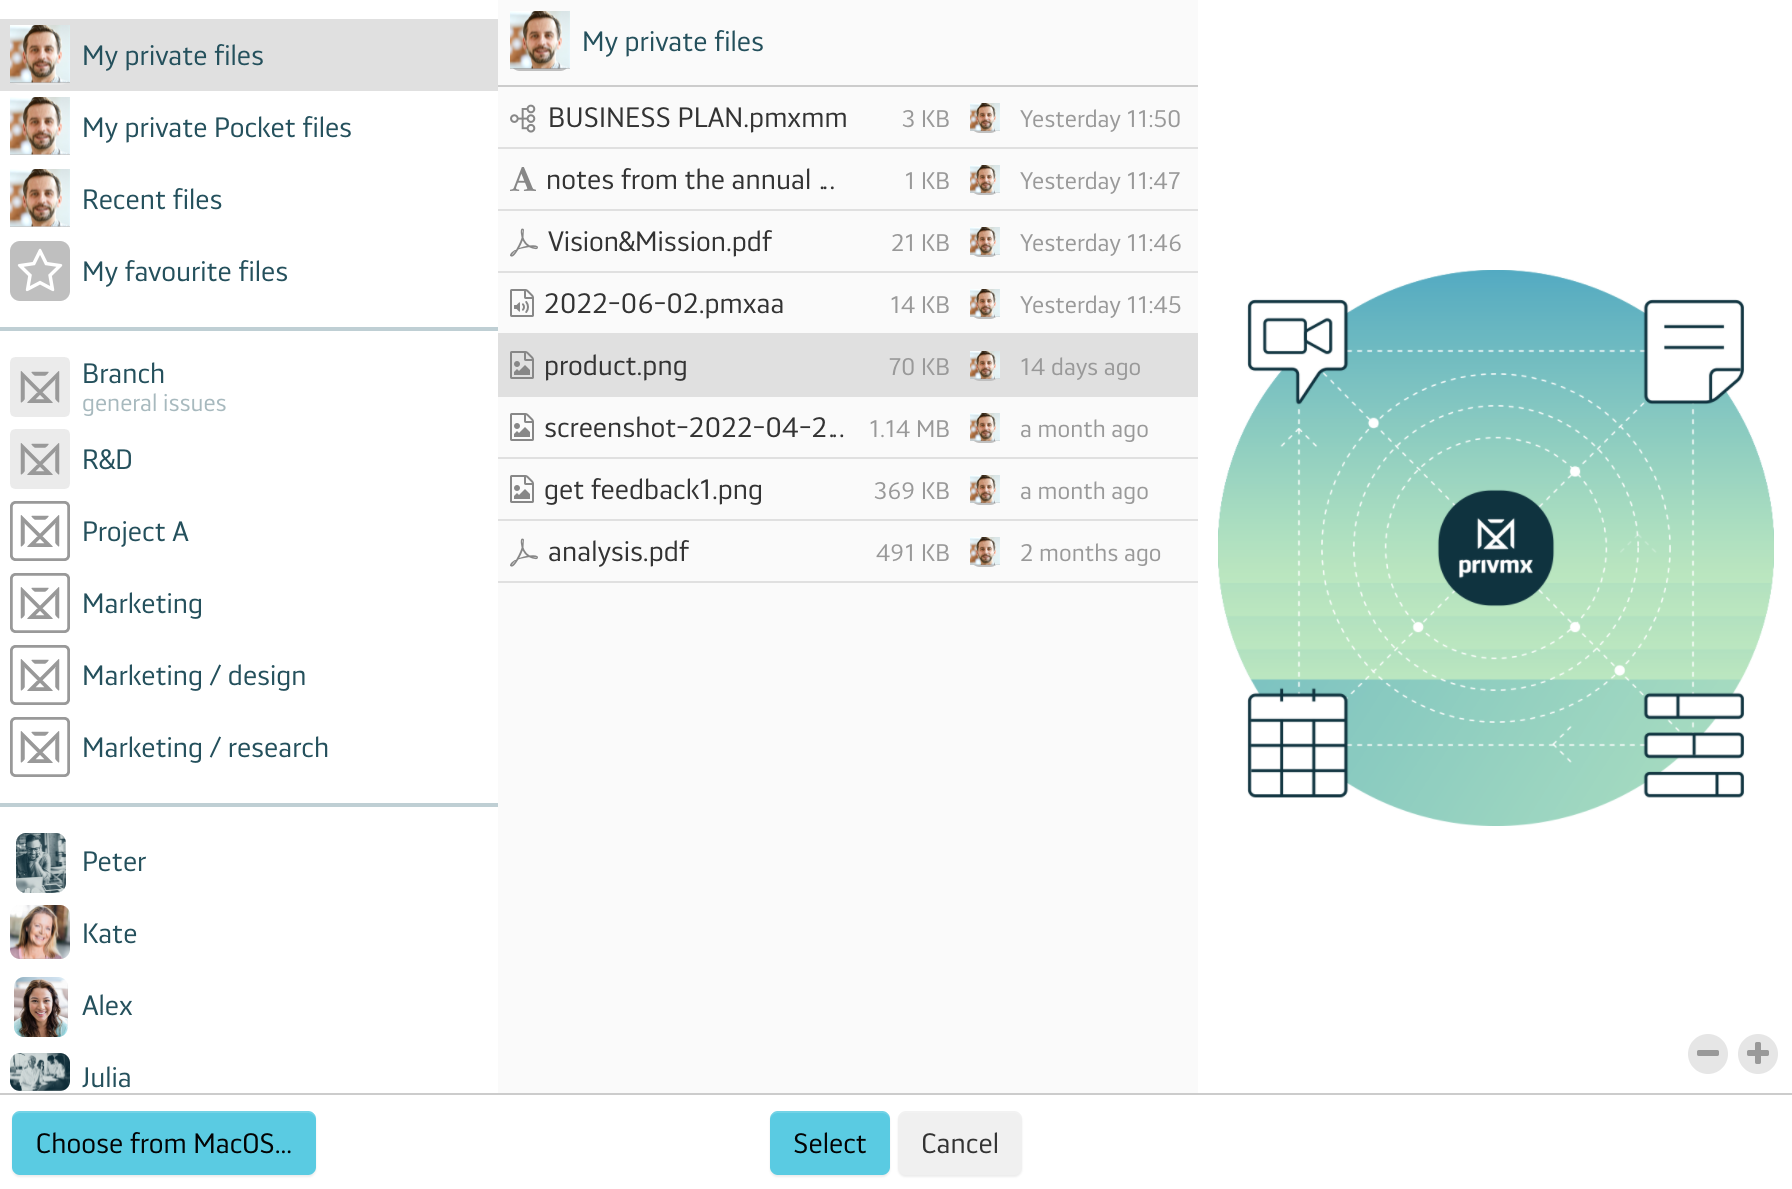
You’re able to add attachments here – these can be uploaded either from your PrivMX Fusion Team Server or your desktop. The selected files will also appear in this Sections’ Files – you can access and edit them any time; what’s more, if you update the attachment within this Section’s Files, it will be also automatically updated in the task.
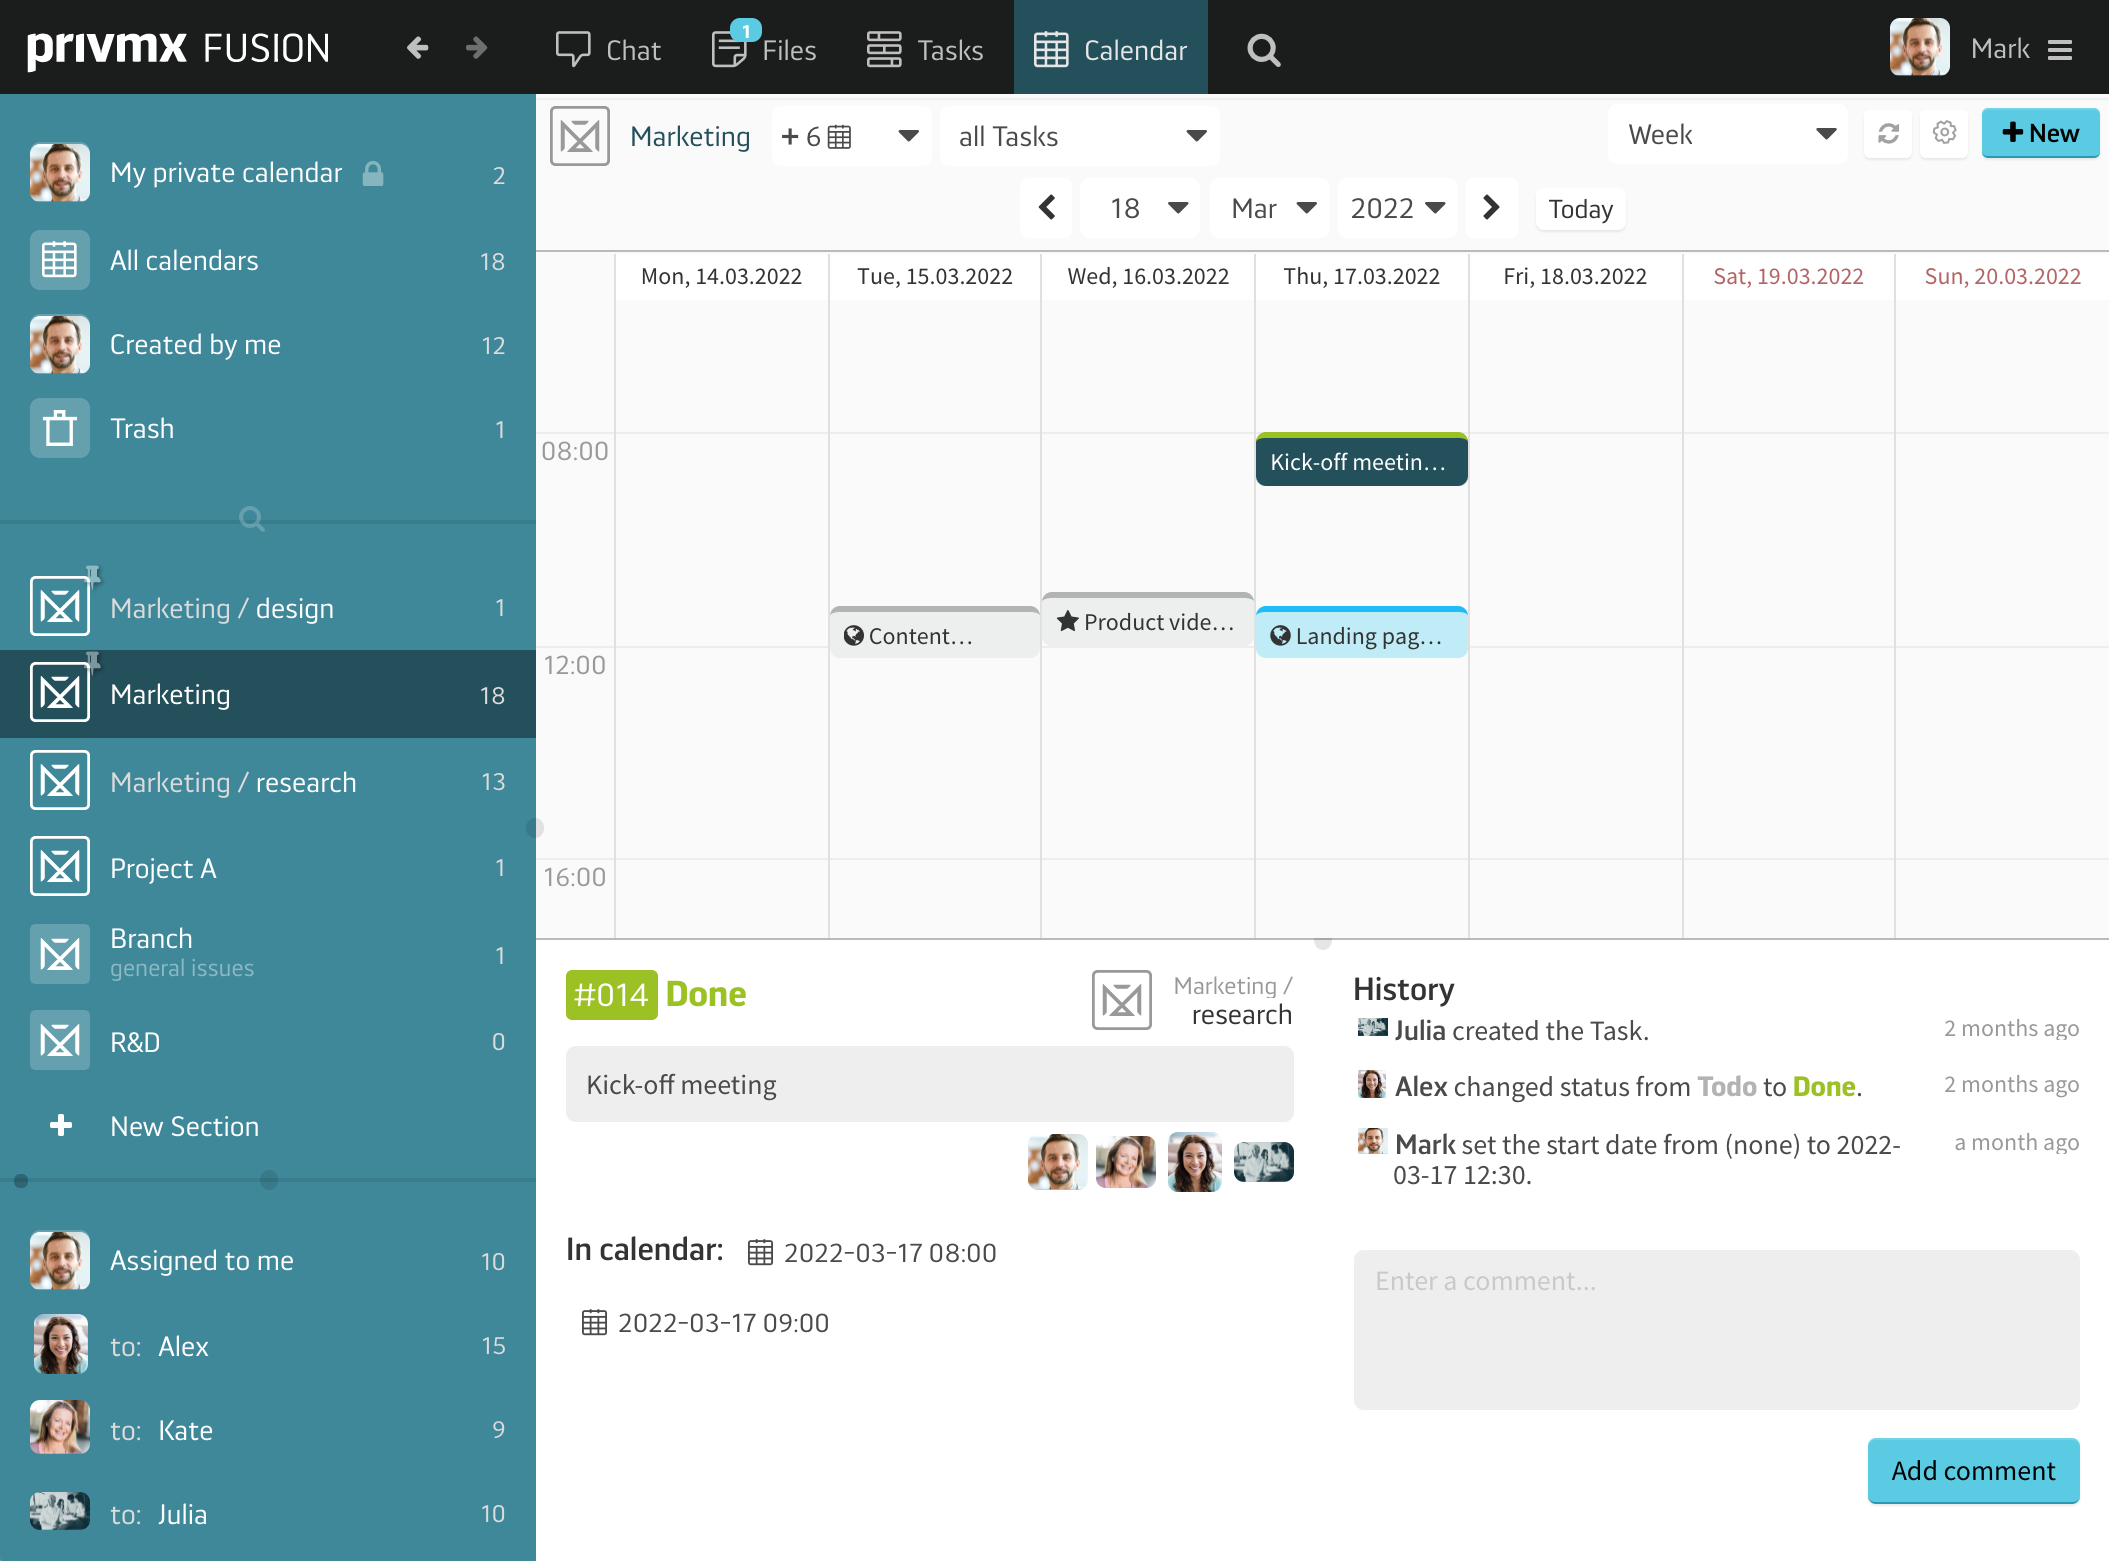
If you’re scheduling a Task that will take days, choose “+Add all day” and select the dates in the Calendar. If you need hourly tasks, choose “+Add time frame” and you’ll be able to set up a specific hourly time frame. As all our tools are deeply interconnected, you’ll be able to see and access these dates in this Section’s Calendar later on:
Read our next tutorial to learn more about how Task Management works in PrivMX Fusion. Let us know what you think in social media! Thanks!