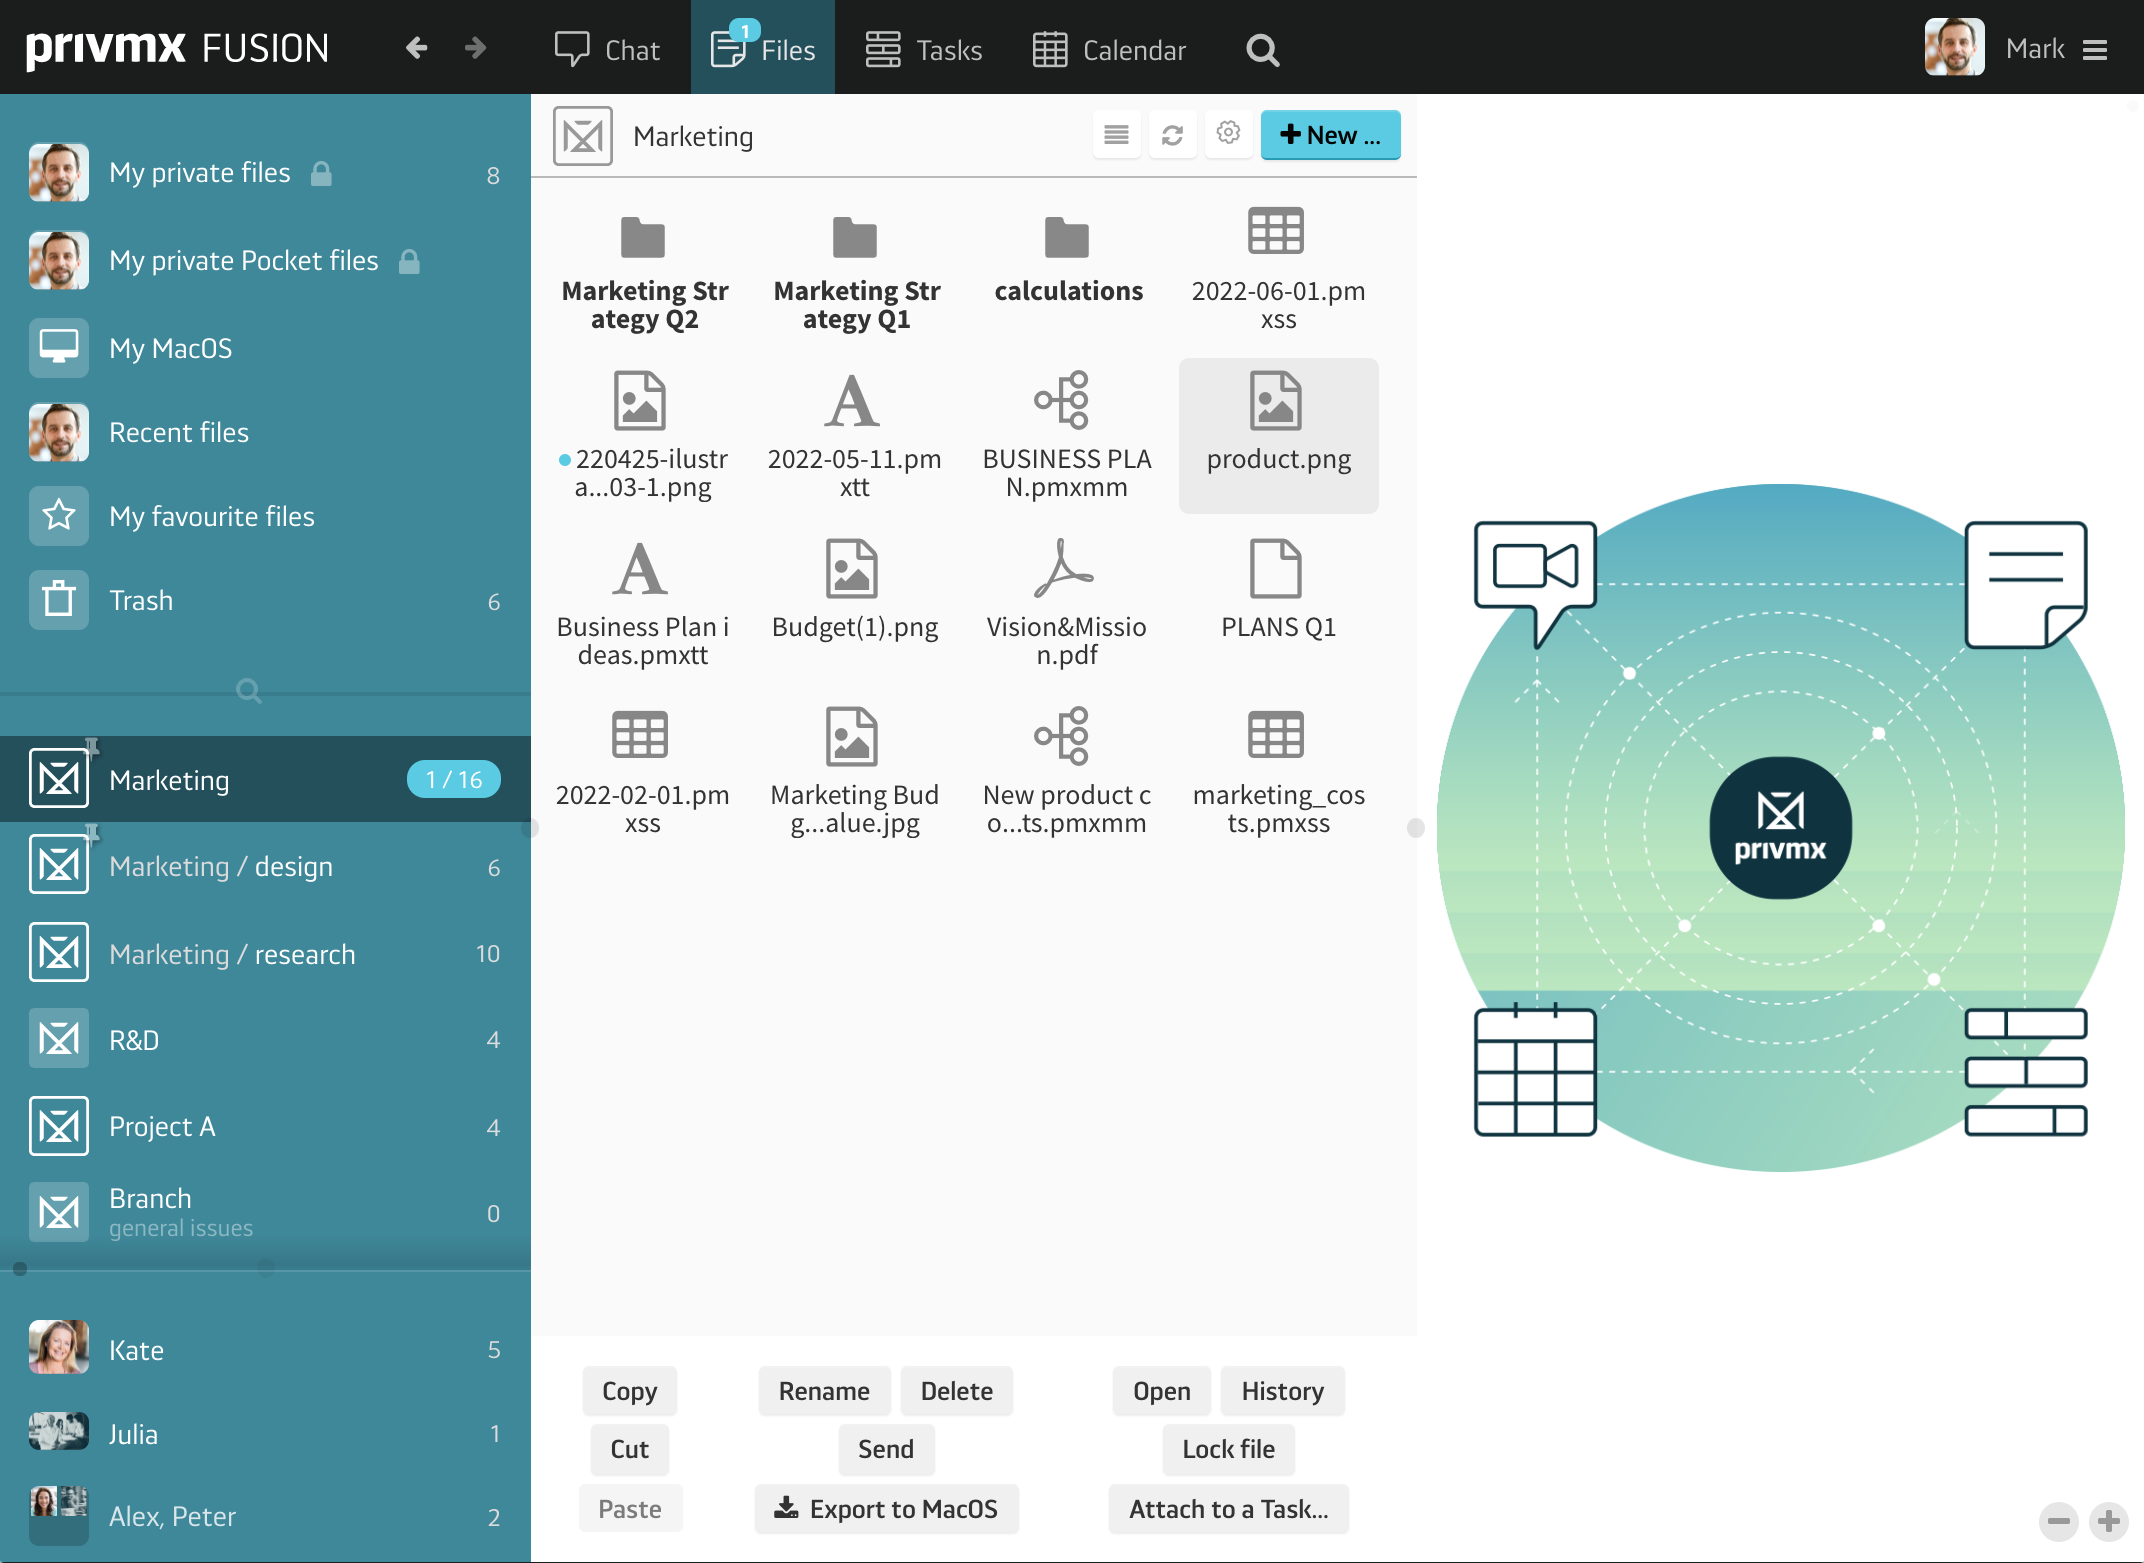
There are many ways you can organize and share Files in PrivMX Fusion. Files are organized and shared within thematic Sections. Therefore any file is available to the users with access to the appropriate Section. But it’s not the only way to share files. You can also send any type of file within the Chat – in ad hoc chat channels or 1-on-1 conversations. To find any file exchanged with your team members that way, just click on the selected chat conversation on your left and then move to Files. You’ll see all the documents, including hyperlinks, exchanged within your conversation. In PrivMX Fusion, each user has their own private workspace, where they can store any files privately. These are not visible or accessible to any other user, even the Team Keeper. This way of dividing storage space, together with our 2-dimensional architecture, makes it really easy to organize and manage your files in an intuitive way. You’re able to find any document fast and you can see all files uploaded and edited by your team.
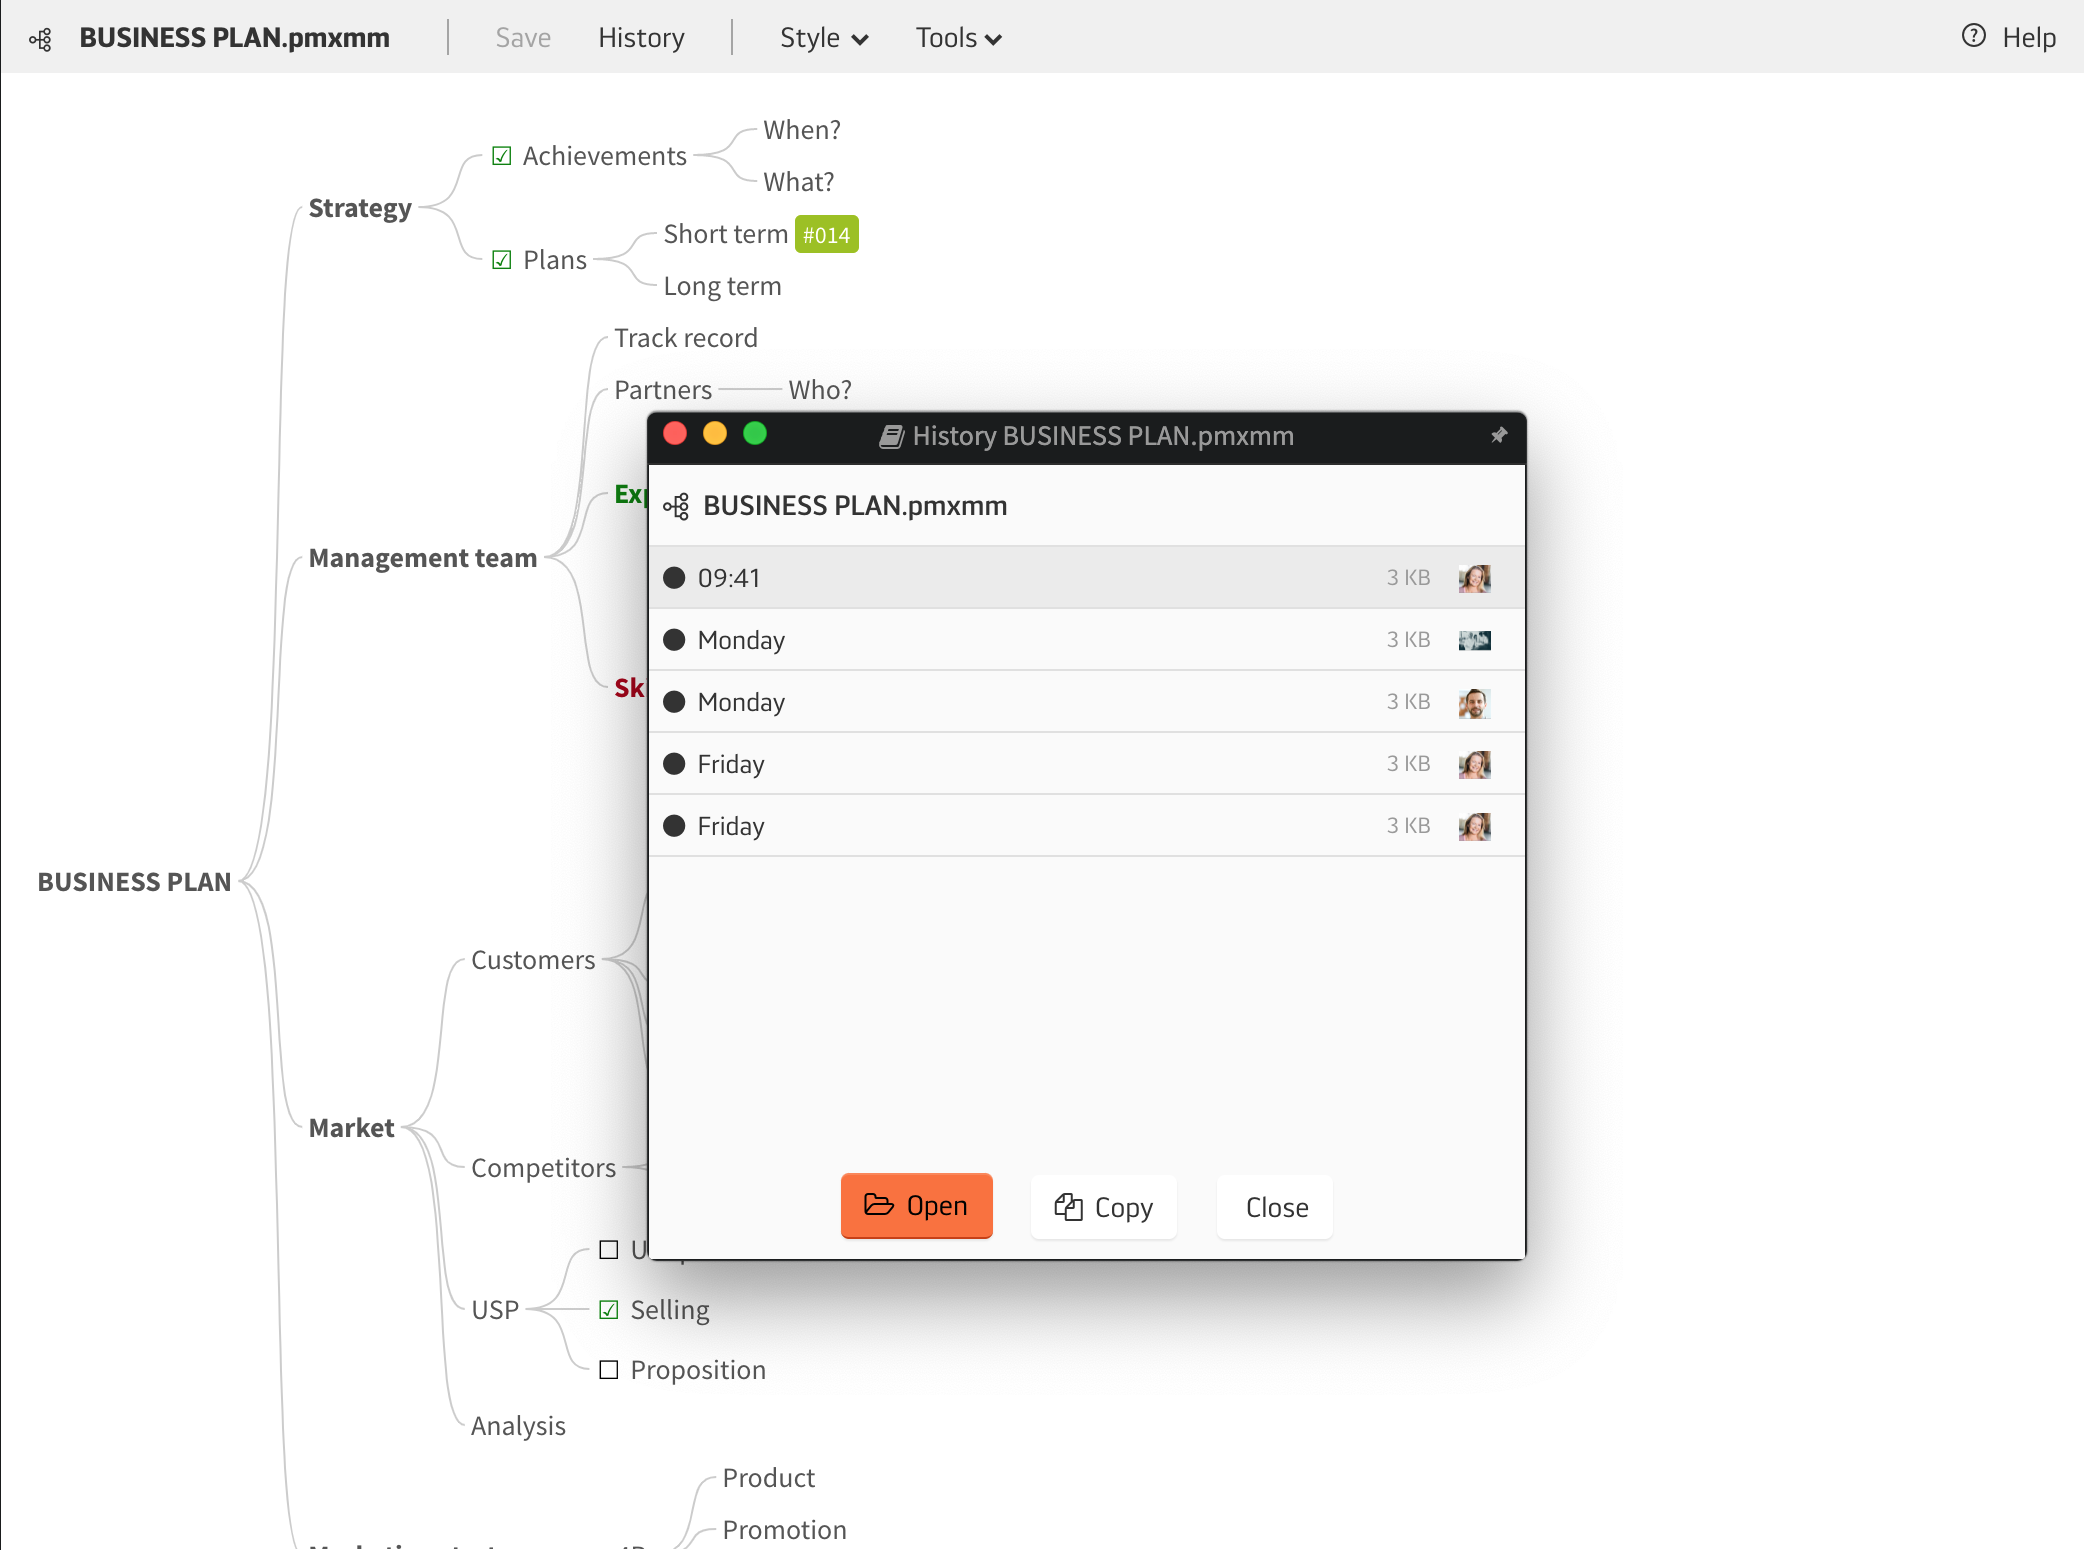
You can upload and edit any type of file extension to PrivMX Fusion. Editing takes place in the appropriate app installed on your desktop and any changes you and your colleagues save are also saved in your PrivMX Team Server – the edited file has the same name, but you can access its previous versions through its History. If you want your Team Members to be able to only view a particular File, not edit it, there is an option to “Lock File”. You can later unlock the File anytime you want.
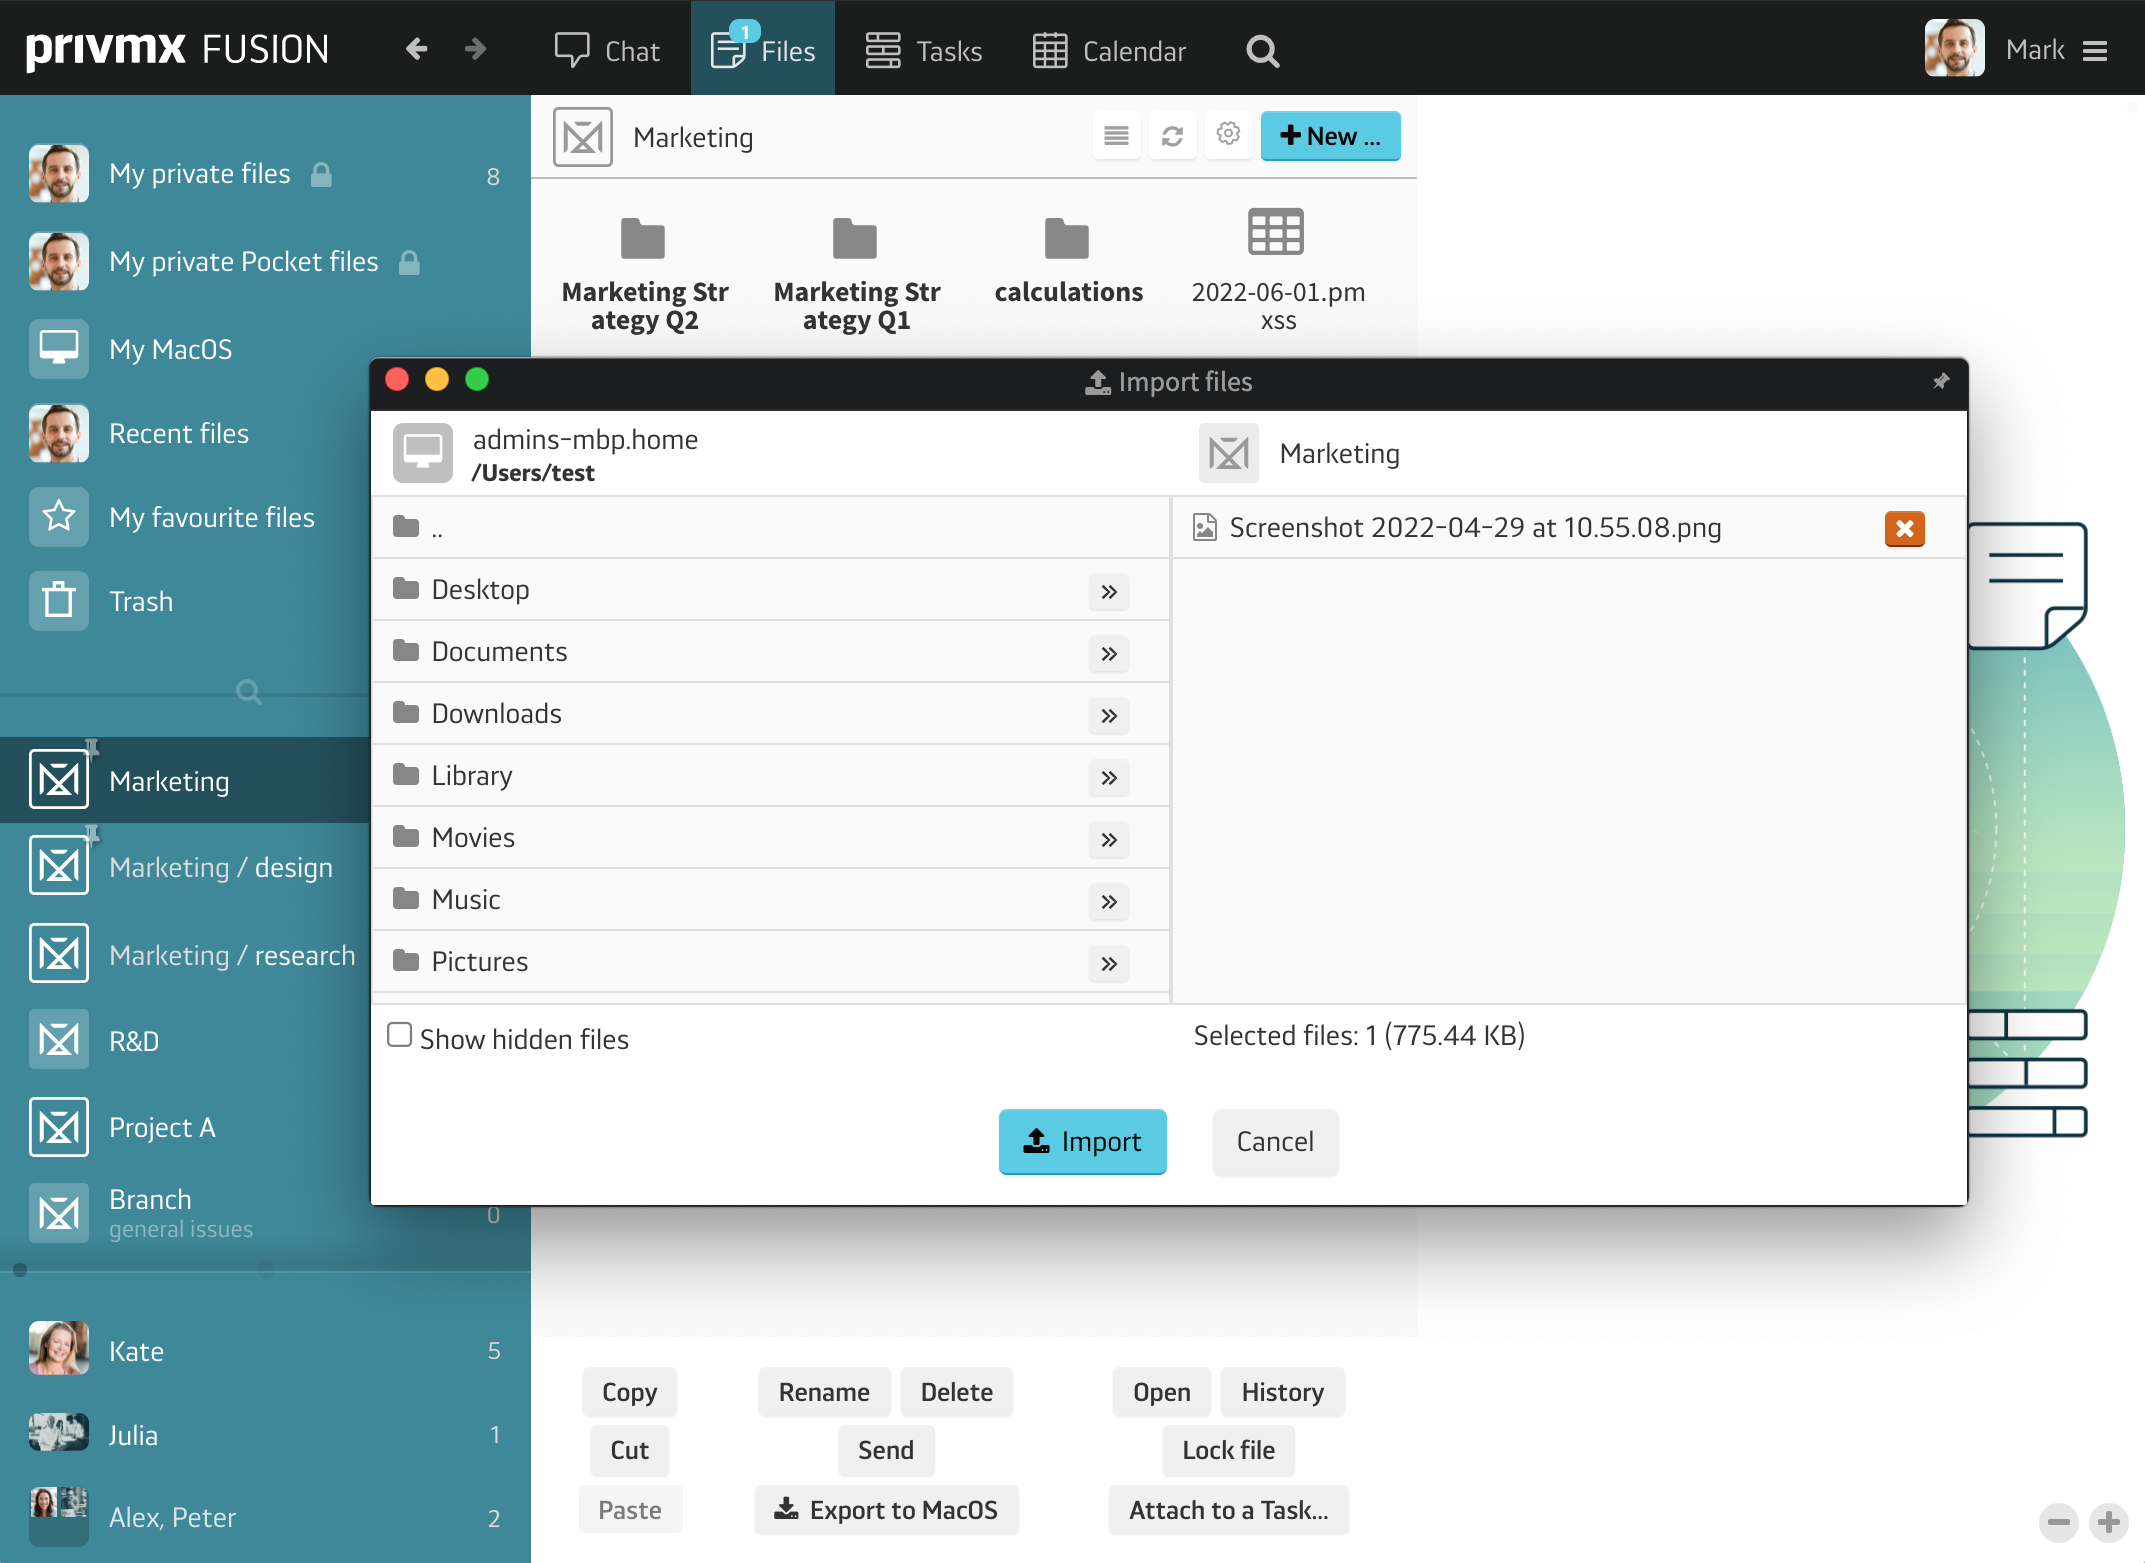
To upload any type of file to PrivMX Fusion, go to Files and choose the right Section. Click the “+New…” button and you’ll see a dropdown. Your desktop files are at the end of the list. Next thing you’ll see is a pop up window where you can select the files right from your device. Import and the file will be imported to the Section you chose earlier, accessible to all its users. If you’d like to add files to your Private Files space, just switch to “My private files” and follow the same path. You can also send a file directly to one person from your team – just choose someone and click the “+New” button. As for the Files space – you can also change your view settings or export all files at once into a .zip folder.
If you want to know more about Files in PrivMX Fusion – read our tutorial dedicated to creating new Files.
If you have any questions or feedback – let us know in our social media. Thanks!